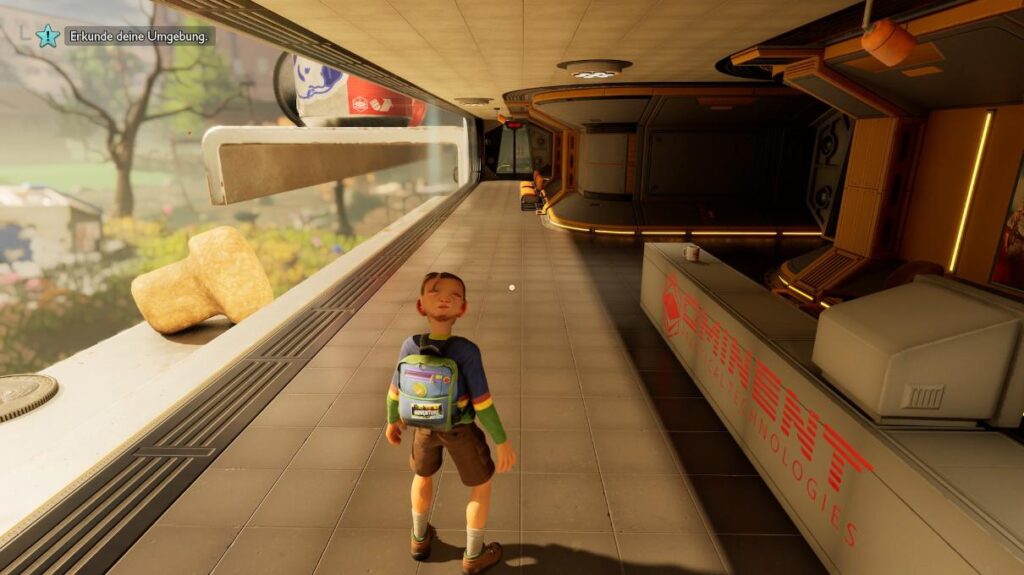
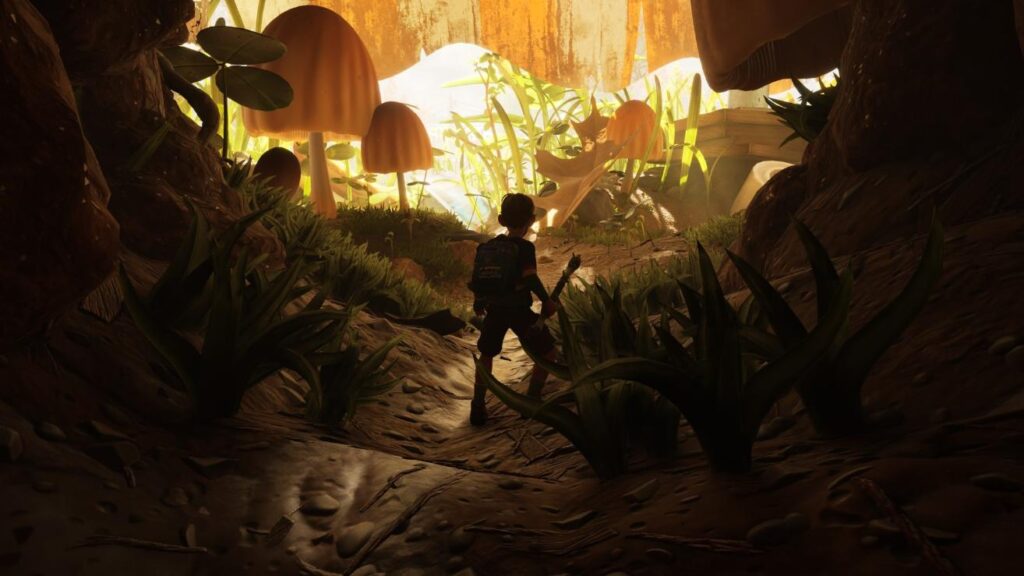
Are you playing Grounded 2 but feeling like your frame rate is holding you back? Does the game feel a little sluggish, or are you experiencing stutters and lag? You’re not alone. Many players are looking for ways to get a smoother, more enjoyable experience in this epic survival game.

Grounded 2: Your Go-To FPS and Performance Guide
This ultimate guide will walk you through simple, step-by-step tweaks that can significantly boost your FPS in Grounded 2. We’ll also cover a common fix for a frustrating audio bug and a simple trick to enable HDR for a more vibrant visual experience. No technical expertise required—we’ve broken it all down into easy-to-follow steps.
The Ultimate FPS Optimization Guide for Grounded 2
The key to these performance improvements is a hidden configuration file that allows you to disable certain resource-intensive graphical features. The biggest culprit is a rendering feature called “Lumen,” which, while visually impressive, can be a major drain on your system. By turning this off, you can unlock a huge FPS boost.
Step 1: Set Your Launch Options
This is a quick and easy first step that can help with stability and performance.
- Open your game launcher (e.g., Steam, Epic Games).
- Find Grounded 2 in your library.
- Right-click on the game and select “Properties.”
- In the “General” tab, look for the “Launch Options” or “Command Line Arguments” section.
- Type or paste the following code:
-dx11 -d3d11 - Close the window.
Step 2: Navigate to the Game’s Configuration Folder
We’ll be creating a special file here that tells the game to change some of its default settings.
- Press the Windows key + R on your keyboard to open the “Run” dialog box.
- Type
%localappdata%and press Enter. This will open a hidden folder where many applications store their data. - In the new window that opens, navigate to the following folder path:
Augusta\Saved\Config\WinGRTS
Step 3: Create the “Engine.ini” File
If this file doesn’t already exist, you’ll need to create it. It’s a simple text file that the game will read when it starts.
- While in the
WinGRTSfolder, right-click on an empty space. - Hover over “New” and select “Text Document.”
- Name the new file
Engine.ini. - Important: Make sure the file is named
Engine.iniand notEngine.ini.txt. If you can’t see the.txtpart, go to the View tab at the top of the File Explorer window, click on Show, and check the box for File name extensions.
Step 4: Add the Performance-Boosting Code
Now, we’ll open the file and paste in the commands that will disable Lumen and other demanding features.
- Open the newly created
Engine.inifile with a text editor like Notepad. - Copy and paste the following code into the file:
[/script/engine.renderersettings]
r.Lumen.DiffuseIndirect.Allow=0
r.Lumen.DiffuseIndirect.AsyncCompute=0
r.LumenScene.Lighting.AsyncCompute=0
r.Lumen.ScreenProbeGather.AsyncCompute=0
r.FilmGrain=0
r.EnableAsyncComputeVolumetricFog=0

[ConsoleVariables]
r.Lumen.DiffuseIndirect.Allow=0
r.Lumen.DiffuseIndirect.AsyncCompute=0
r.LumenScene.Lighting.AsyncCompute=0
r.Lumen.ScreenProbeGather.AsyncCompute=0
r.FilmGrain=0
r.EnableAsyncComputeVolumetricFog=0- Save and close the file.
Step 5: Set the File to “Read-Only”
This is a crucial step to prevent the game from automatically deleting or overwriting your changes.
- Find the
Engine.inifile you just created. - Right-click on it and select “Properties.”
- Under the “Attributes” section at the bottom of the window, check the box next to “Read-only.”
- Click “Apply” and then “OK.”
Bonus Tip: Go for Even More FPS by Lowering Shadows
If you want to squeeze out every last frame, you can also disable or reduce the quality of shadows. This is especially helpful on older or lower-end graphics cards.
To do this, simply add two more lines to your Engine.ini file. Your full code should look like this:
[/script/engine.renderersettings]
r.Lumen.DiffuseIndirect.Allow=0
r.Lumen.DiffuseIndirect.AsyncCompute=0
r.LumenScene.Lighting.AsyncCompute=0
r.Lumen.ScreenProbeGather.AsyncCompute=0
r.FilmGrain=0
r.EnableAsyncComputeVolumetricFog=0
r.DynamicGlobalIlluminationMethod=0
r.ShadowQuality=0

[ConsoleVariables]
r.Lumen.DiffuseIndirect.Allow=0
r.Lumen.DiffuseIndirect.AsyncCompute=0
r.LumenScene.Lighting.AsyncCompute=0
r.Lumen.ScreenProbeGather.AsyncCompute=0
r.FilmGrain=0
r.EnableAsyncComputeVolumetricFog=0
r.DynamicGlobalIlluminationMethod=0
r.ShadowQuality=0
Remember to save the file and ensure it is still set to “Read-only” after making any changes.

Fix for Underwater/Radio-ish Sound with Bluetooth Devices
Are you using Bluetooth headphones or a speaker and getting a strange, muffled audio experience that sounds like it’s coming from a walkie-talkie? This is a known issue caused by a specific Windows service. Here’s how to fix it.
- Open the Services App: Press Windows key + R, type
services.msc, and press Enter. - Find the “Bluetooth Audio Gateway Service”: Scroll down the list of services until you find it.
- Stop the Service: Right-click on the service and select “Stop.”
- Disable the Service: Right-click on it again and choose “Properties.” In the “Startup type” dropdown menu, select “Disabled.” Click “Apply” and then “OK.” This will prevent the issue from returning after you restart your PC.
- Restart Your Device: Turn off your Bluetooth headphones/speaker, wait a few seconds, and then turn them back on. Reconnect them to your computer and restart Grounded 2 if it’s currently running.

How to Enable HDR in Grounded 2
For those with an HDR-compatible monitor, you can take your visuals to the next level with this simple tweak.
- Go to the Configuration Folder: Follow the same steps as the FPS guide to get to the
WinGRTSfolder:%localappdata%\Augusta\Saved\Config\WinGRTS. - Create/Edit “Engine.ini”: If you already created an
Engine.inifile for the FPS boost, just open it. If not, create a new one following the steps above. - Paste the HDR Code: Copy and paste the following code into the file:
[SystemSettings]
r.AllowHDR=1
r.HDR.EnableHDROutput=1
r.HDR.Display.OutputDevice=5
r.HDR.Display.ColorGamut=2
r.HDR.UI.CompositeMode=1
r.HDR.UI.Level=0.5

[/script/engine.renderersettings]
r.AllowHDR=1
r.HDR.EnableHDROutput=1
r.HDR.Display.OutputDevice=5
r.HDR.Display.ColorGamut=2
r.HDR.UI.CompositeMode=1
r.HDR.UI.Level=0.5
Save and Set to “Read-Only”: Save the file, close it, and then right-click on it to set it to “Read-only” in the Properties menu. This is essential, as the game will delete the file on launch otherwise.
Launch the Game: Make sure your monitor is already in HDR mode before you start the game.
By following these simple steps, you can get a massive performance boost, fix annoying audio bugs, and even improve the visual quality of Grounded 2. Enjoy your newly optimized, buttery-smooth gaming experience!

An avid listener of music from a number of countries. Writing is his hobby and passion. A follower of all the latest android and PC games. Not to mention his favorite: Mobile Legends!