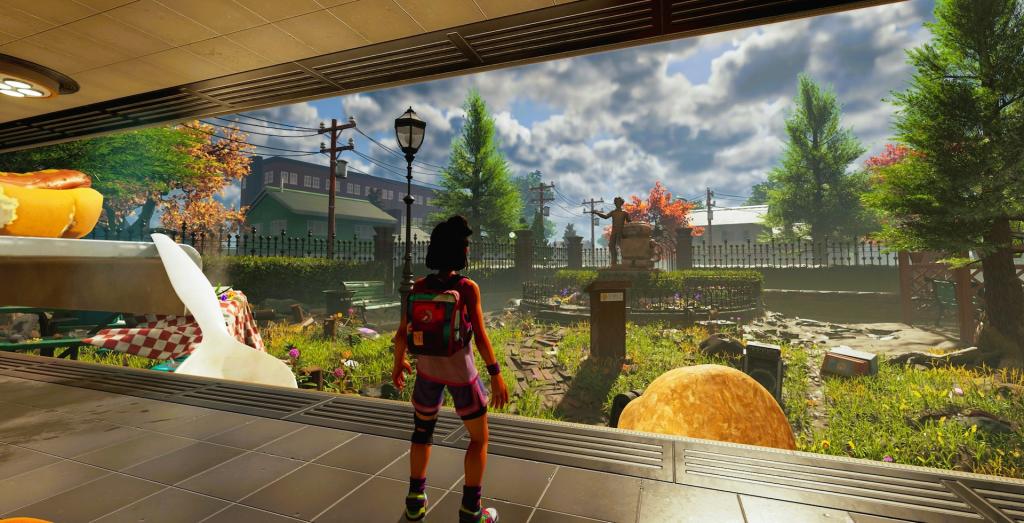
Having trouble getting a smooth frame rate in Grounded 2? You’re not alone. While this amazing survival adventure is a blast, it can be demanding on your PC. But what if we told you there’s a hidden way to unlock better performance and a smoother experience?

Grounded 2: How to Boost Your FPS
Thanks to a discovery by the community, we now know that Grounded 2 has a built-in, but hidden, FSR 1.0 upscaling feature! FSR (FidelityFX Super Resolution) is a technology developed by AMD that can give you a significant performance boost with minimal impact on visual quality.
This guide will walk you through a simple, step-by-step process to enable FSR 1.0 and optimize your game settings for the best possible experience. We’ll show you how to find and edit the right files, what each setting does, and how to get that perfect balance between performance and visual quality.
Ready to get a major FPS boost? Let’s dive in!
Part 1: FSR 1.0 in Grounded 2
This process requires you to edit a couple of game files. Don’t worry, it’s safe and easy to do. Just follow these steps carefully.
Step 1: Find Your Game’s Configuration Folder
First, you need to navigate to the game’s configuration folder. This is where all the game’s settings are stored.
- Open your File Explorer.
- In the address bar, type:
%localappdata%\Augusta\Saved\Config\WinGRTS - Press Enter.
This will take you directly to the correct folder.
Step 2: Create and Edit the Engine.ini File
If you don’t already have a file named Engine.ini in this folder, you’ll need to create one.
- Find the
GameUserSettings.inifile. - Make a copy of it and rename the copy to
Engine.ini. - Open the newly created
Engine.inifile with a text editor like Notepad. - Delete all the existing content inside the
Engine.inifile. - Copy and paste the following lines into the file:
[SystemSettings]
r.FidelityFX.FSR.Enabled=1
r.FidelityFX.FSR.Quality=3
r.FidelityFX.FSR.Sharpness=1.5
r.TemporalAA.Upsampling=0
r.ScreenPercentage=88
r.AntiAliasingMethod=2
What do these settings mean?
r.FidelityFX.FSR.Enabled=1: This is the most important line! It turns on the hidden FSR 1.0 feature.r.FidelityFX.FSR.Quality=3: This sets the quality level of FSR. The numbers usually represent different presets, but 3 is a great starting point for a good balance.r.FidelityFX.FSR.Sharpness=1.5: This adjusts the sharpness of the image. You can play with this value (e.g.,3.0) to make the game look sharper.r.ScreenPercentage=88: This is a crucial setting for performance. A lower number here means the game will render at a lower internal resolution, which FSR then upscales. This gives you a big FPS boost.- Recommendation: Start with
88. If you need more performance, try75or even50. Just be aware that lower values can make the image appear blurry.
- Recommendation: Start with
r.TemporalAA.Upsampling=0andr.AntiAliasingMethod=2: These settings disable the default upscaling and anti-aliasing methods to prevent conflicts and ensure FSR works correctly.
Step 3: Set Both Files to Read-Only
This is a vital step! If you don’t do this, the game will overwrite your changes and turn FSR off.
- Right-click on the
Engine.inifile. - Go to
Properties. - In the “Attributes” section, check the box next to Read-only.
- Click
Applyand thenOK. - Do the exact same thing for the
GameUserSettings.inifile.
Important Note: If you ever want to change your settings again, you’ll need to uncheck the “Read-only” box, make your changes, save the file, and then check “Read-only” again.
Part 2: Optimizing Your Other Graphics Settings
Now that FSR is enabled, you can fine-tune your other graphics settings in the GameUserSettings.ini file to get the best performance.
Open the read-only version of your GameUserSettings.ini file and look for the [ScalabilityGroups] section.
Here are some recommended starting settings that work well with FSR:
[ScalabilityGroups]
sg.ResolutionQuality=100
sg.ViewDistanceQuality=3
sg.AntiAliasingQuality=3
sg.ShadowQuality=1
sg.GlobalIlluminationQuality=2
sg.ReflectionQuality=3
sg.PostProcessQuality=3
sg.TextureQuality=3
sg.EffectsQuality=3
sg.FoliageQuality=3
sg.ShadingQuality=1
sg.LandscapeQuality=3
Understanding the Settings (0 = Lowest, 3 = Highest)
The numbers next to each setting represent the quality level. Generally, 0 is the lowest setting and 3 is the highest.
sg.ResolutionQuality=100: This should remain at 100, as FSR handles the upscaling.sg.ViewDistanceQuality=3: This affects how far away objects and details are rendered. A higher number can be demanding but makes the world feel more detailed.sg.ShadowQuality=1&sg.ShadingQuality=1: Shadows and shading are often very demanding. Setting them to a lower value like1can give you a significant FPS boost without a massive visual downgrade.sg.TextureQuality=3: Textures don’t usually have a huge impact on FPS, so you can often keep this high to make the game look sharp.sg.FoliageQuality=3: This controls the quality and density of grass and plants. A lower number here can help performance in crowded areas.
Tweak and Experiment!
These are just starting points. You can change these numbers from 0 to 3 to find the perfect mix for your PC. For instance, if you want a cleaner look, you can try sg.AntiAliasingQuality=3. If you need more performance, try lowering sg.ViewDistanceQuality to 1 or 2.
Remember to always uncheck “Read-only” before making changes, save the file, and then re-check “Read-only.”
Wrapping Up
By enabling the hidden FSR 1.0 and adjusting your other graphics settings, you can get a massive performance boost and enjoy a much smoother experience in Grounded 2.
We hope this guide helped you optimize your game and get back to exploring the backyard! Let us know in the comments if these settings worked for you and what FPS improvements you saw. Happy adventuring!
Last Updated on August 7, 2025

An avid listener of music from a number of countries. Writing is his hobby and passion. A follower of all the latest android and PC games. Not to mention his favorite: Mobile Legends!