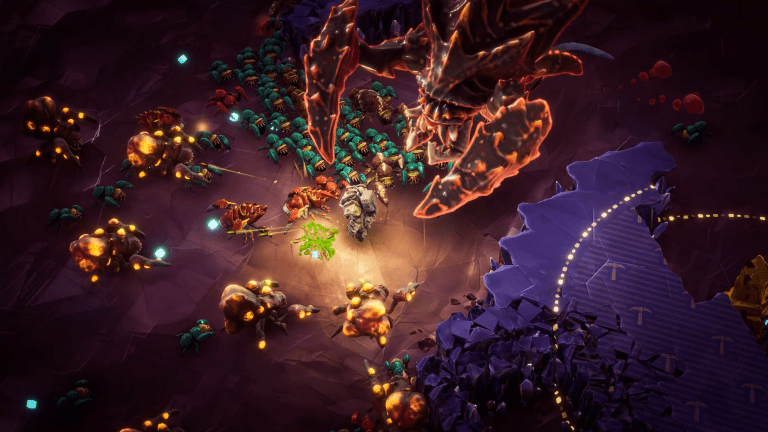
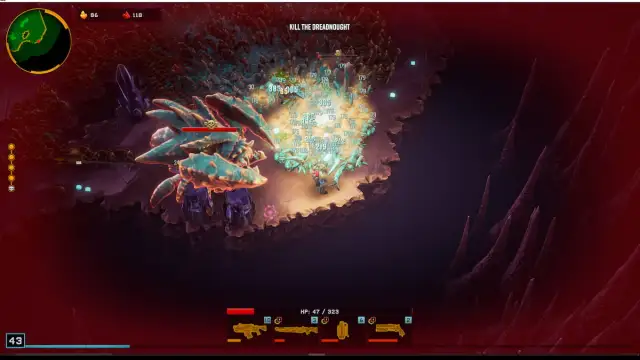
This guide tackles a major challenge faced during dives – the Dreadnought. It provides fundamental tactics and strategies to help you emerge victorious against this formidable foe.
Deep Rock Galactic: Survivor – Evading the Dreadnought

Common Downfalls In Dreadnought Encounters
Here’s a breakdown of frequent situations that lead to defeat when facing the Dreadnought:
Frequent Dangers:
Dreadnought Surprise: Getting caught off guard by the Dreadnought while traversing through mined tunnels or battling regular waves of enemies.
Less Frequent Dangers:
Cornered and Vulnerable: Being trapped in a dead-end corner of the map or while acquiring health from Red Sugar, which is a lengthy process.
Bug Blitz:
Bug Surge: Every time the Dreadnought spawns, it triggers an increased spawn rate of regular enemies, overwhelming unprepared dwarves.
Dreadnought’s Wrath: The Dreadnought itself poses a significant threat, capable of halving your health in just two attacks.
Buggy Backup: While regular bugs may not be individually threatening, encountering large groups or special types like Acid Spitters, Praetorians, Macteras, and especially Detonators (both loved and hated) can quickly turn the tide.
Prepping for the Dreadnought: Before the Big Rumble

Stat Balancing:
Health and Movement Speed: Aim for a balance between survivability (around 220 max HP at stage 5) and mobility (+25% movement speed or higher is ideal) to dodge attacks and navigate efficiently.
Focus on HP: While being too tanky can be counterproductive against swarms, having enough HP ensures you can withstand some hits from the Dreadnought and stronger bugs.
Stage 5 Preparations:
Prioritize Health: If your HP is low, prioritize mining Nitra for health upgrades before focusing on gold or other resources. Remember, you can always trade excess gold later.
Efficient Mining: Choose areas with Nitra and Morkite for quick resource acquisition. Driller’s class ability can also be useful for rapid mining.
Balance Resource Collection and Combat: While acquiring resources is important, be mindful of the incoming swarm wave at the beginning of stage 5. Don’t spend excessive time mining that puts you at risk.
Elite Elimination: Consider eliminating isolated Elite Glyphids before their spawning for bonus XP, which can provide valuable upgrades and make the Dreadnought encounter easier.
General Leveling Up: Aim to level up your character through combat and resource collection. A stronger dwarf translates to better damage output and survivability against the Dreadnought and its minions.

The Dreadnought’s Devastating Dash
The Dreadnought’s most dangerous attack is arguably its dash, a combination of its hitbox and movement pattern.
Understanding the Dash:
Initial Rush: At the start of the dash, the Dreadnought charges forward at high speed. This initial rush is difficult to outrun.
Slowdown: As the dash progresses, the Dreadnought’s speed gradually decreases.
Telltale Sign: The Dreadnought pauses and stands still before launching itself forward, providing a brief window to anticipate the attack.
Two Evasion Strategies:
Running Alongside:
This involves running parallel to the Dreadnought’s dash path, aiming to be just outside its reach at the end. This strategy works well for dealing damage with weapons effective at close range.
- Advantage: Creates a small gap for close-range attacks.
- Drawback: Requires precise timing and leaves you vulnerable if miscalculated.
Dodging Sideways:
This involves moving perpendicularly to the Dreadnought’s dash just before it lunges, allowing you to avoid the attack entirely. This strategy opens up space for further actions like damage dealing or resource gathering.
- Advantage: Provides more breathing room and flexibility.
- Drawback: Requires awareness of surroundings to avoid getting trapped by environmental hazards or enemies.
Environmental Awareness is Key:
The choice between these strategies depends on the specific environment:
Open Space: Both strategies are viable, choose the one that aligns with your weapon choice and playstyle.
Confined Space: Dodging sideways becomes safer, as running alongside may lead to getting trapped in corners.
Remember, the key to successfully dodging the Dreadnought’s dash is to be observant of your surroundings, understand the telltale signs, and choose the appropriate strategy based on the situation.
Additional Dreadnought Strategies:

Supply Pod Drop Zone Advantage:
Prepping the Drop Zone: As mentioned, mining out the designated drop zone allows you to call it down strategically.
Luring and Damage: Luring the Dreadnought into the drop zone and calling down the pod can deal significant damage (around half HP), significantly easing the battle.
Hollow Bough Maneuvers:
Red Vine Deception: Utilize the red vines on Hollow Bough to manipulate the Dreadnought’s jump, potentially causing it to jump to the opposite side.
Combined Pod Damage: Combine the pod drop damage with other attacks to potentially defeat the Dreadnought quickly.
Kiting Around Obstacles: Employ obstacles like the supply pod or gaps in the level to limit the Dreadnought’s movement and control its positioning.
Perpendicular Dash Evasion:
Timing and Distance: This strategy emphasizes observing the Dreadnought’s pause before its dash and then running perpendicularly at a distance of one or two dwarf heights from its head.
Jump Evasion: By positioning yourself close to the head and running perpendicularly at the right moment, the Dreadnought will jump over you, avoiding damage and allowing you to reposition quickly.
Additional Notes:
While the guide emphasizes dodging, remember to deal sufficient damage within a reasonable timeframe to manage the increasing swarm difficulty.
This is primarily a matter of optimizing your build for damage output. Experiment with different tactics and builds. Future updates might further refine Dreadnought encounters.
These strategies require practice and coordination with teammates for optimal effectiveness.
While the Dreadnought itself may be susceptible to these tactics, remember to prioritize clearing regular enemies before focusing solely on the boss.
The strategies mentioned in this guide offer valuable options for both experienced and new players facing the Dreadnought challenge.
Remember to adapt your approach based on the specific environment, team composition, and your comfort level with each technique. Feel free to share feedback and experiences in the comments section. Rock and Stone!
Last Updated on February 28, 2024

An avid listener of music from a number of countries. Writing is his hobby and passion. A follower of all the latest android and PC games. Not to mention his favorite: Mobile Legends!