A quick guide to help you defeat this terrible boss. I defeated this boss on PS4 a while ago after two hours of failing to beat him. I learned some things that can also help you defeat him.
How To Defeat Eterllick Boss In The First Descendant

Crucial Advice on Handling Adds in the Battle
In this battle, you will face two types of additional enemies: Marauders and two Fortress Guards.
Before engaging with anything else, prioritize eliminating the Fortress Guards immediately. They can obstruct your shots when you’re trying to break shields.
Fortress Guards will respawn periodically, so make sure to swiftly take them down each time they reappear.
Regarding the Marauders, clear them out whenever Eterllick activates his shield, as they can sneak up and attack you from behind.
Most of the damage you’ll sustain in this fight will come from the Marauders. Whenever Eterllick erects his shield or when you need to retreat, focus on eliminating the Marauders. They also drop health, mana, and ammo, crucial resources you’ll need to manage throughout the battle.
Optimal Weapon Choices
It is strongly advised to equip a tactical rifle because of its minimal recoil, which aids in hitting the orbs and shield markers effectively.
As for secondary weapons, consider an assault rifle, sub-machine gun, or machine gun to use when your tactical rifle runs low on ammo.
A sniper rifle is advantageous for targeting Eterllick when his shields are down; shotguns are risky in this scenario, and launchers are not effective in this fight.
Managing the Shields
The primary challenge in this battle revolves around his two shields, leading to AT LEAST SIX IMMUNITY PHASES where you must target small markers to disable them.
Blue Shield Mechanics
At approximately 50% health, Eterllick activates his blue shield.
To dismantle this shield, you must target small markers orbiting around it. This highlights the importance of using a tactical rifle due to its low recoil, which makes hitting these markers more manageable.
Be aware that the shield will regenerate if left untouched for a period.
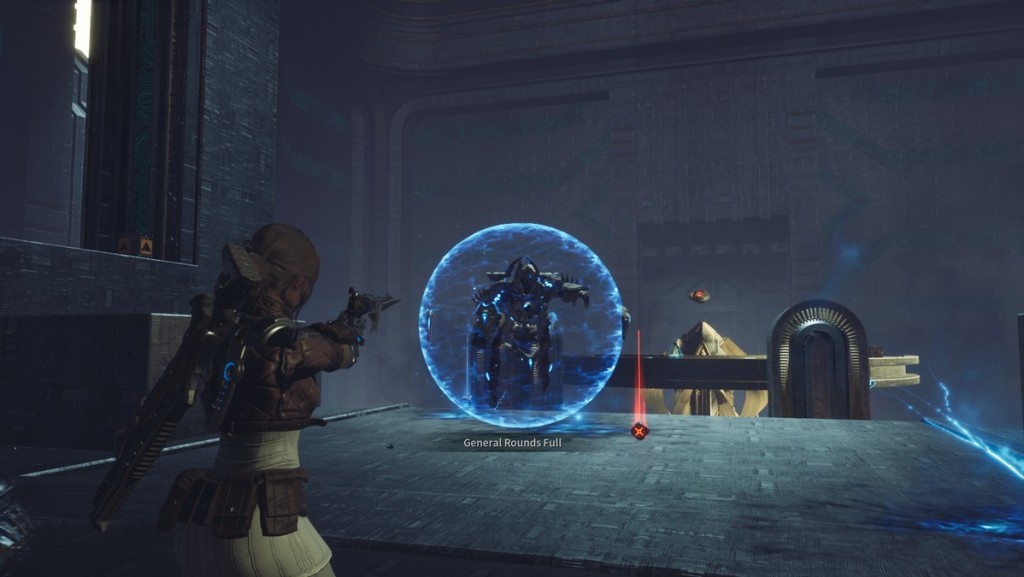
Orb Shield Mechanics
Once Eterllick loses a full life bar, he becomes immune and activates the orb shield, a mechanic you should have encountered earlier.
To dismantle this shield, target the three orbs orbiting around him. I suggest taking cover behind the central platform and shooting them from there.
Be aware that the orbs will regenerate if not eliminated quickly enough.
Eterllick’s Behavior
Eterllick poses more of an annoyance than a direct threat during this battle, so it’s important to be mindful of specific actions.
As a tracker, Eterllick will lob electric grenades at you when you move far away, creating damaging areas that can penetrate Ajax’s wall shield.
During the second and third phases of the blue shield, Eterllick fires three pellets per shot, which can be lethal if you’re too close.
Watch out for Eterllick’s ability to summon a large electrical field marked by an AoE indicator beneath you—remain vigilant and ready to react.
Conclusion:
I’m enjoying the game, but I really hope they ease up on these immunity phases. After spending so much time on this boss, I felt compelled to write something to assist others. Hopefully, this guide will save someone else from spending as much time on this boss as I did.
Last Updated on July 9, 2024

An avid listener of music from a number of countries. Writing is his hobby and passion. A follower of all the latest android and PC games. Not to mention his favorite: Mobile Legends!