One of the most enjoyable aspects of LEGO 2K Drive is the chance to construct the ultimate automobile in your garage with thousands of LEGO pieces. This gives you the freedom to customise whatever car you desire, with only your imagination as a restriction. But how can you get started making your own stuff? Let us investigate.

How to Build in the Garage in Lego 2k Drive
Bricklandia is the home of a vast open-world LEGO® driving adventure. Race anywhere, play with anyone, design your ideal rides, and compete for the coveted Sky Trophy against a cast of hilarious racing adversaries!
In LEGO 2K Drive, your incredible transforming vehicles allow you to speed across thrilling racetracks, off-road terrain, and open oceans. Get in your car and prepare for hours of open-world adventure and exhilarating races!
Take on the intriguing Story mode, enter a single race or Cup Series tournaments, and have fun with the bizarre minigames. Master the skills of drifting, boosting, and using power-ups to win!
Working in the Garage
The Garage will be accessible from the main menu. As previously stated, it is a place where you may create and customise vehicles using various LEGO pieces. Needless to say, you are free to build whatever car you desire. Furthermore, the game has a comprehensive tutorial to guide you from start to finish.
To get started, go to the main menu and select The Garage. This will take you to the garage, where you’ll be greeted by a slew of welcome notes. You will also be shown how to change the colour of your autos. After you’ve completed that instruction, you can begin building your own.
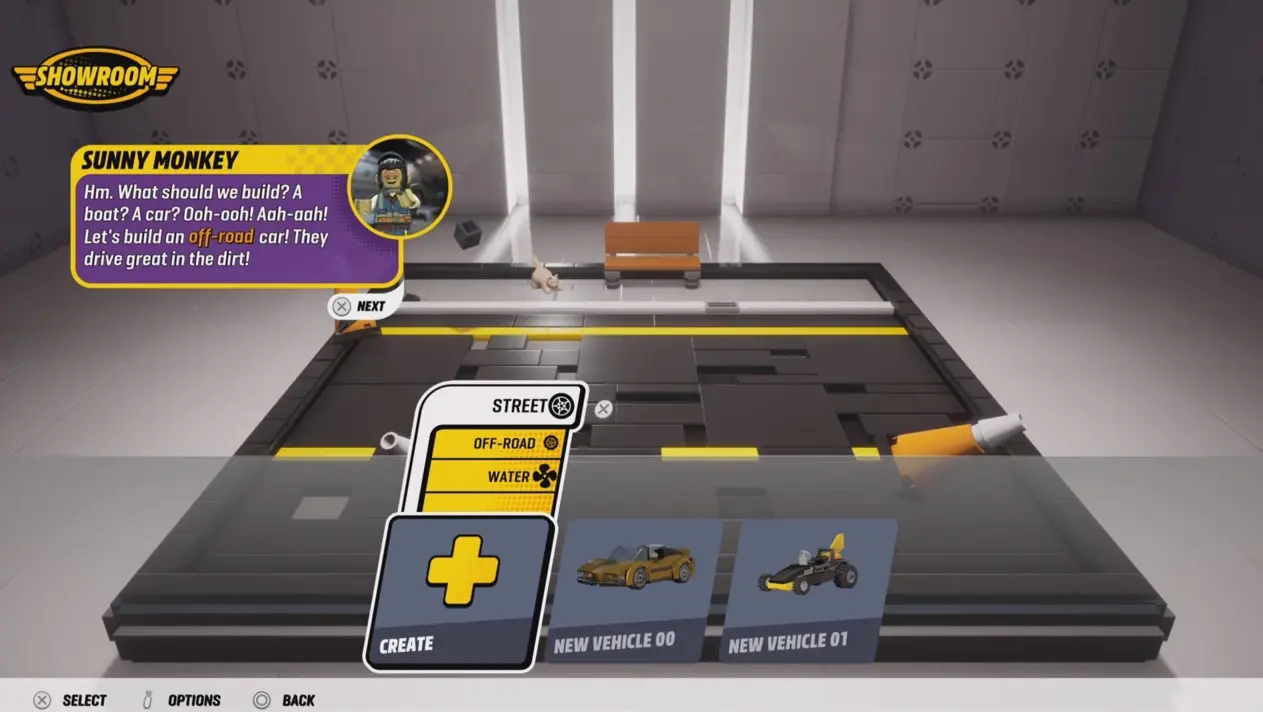
To begin, simply click the Create button. You can select the type of vehicle you wish to build here. You can pick between Street, Off-road, and Water. Following that, you’ll need to select a basis for your car. This is determined on the type you selected before.
To open the Brick Drawer, press the triangle button after selecting a base. As the name implies, this is where you’ll find a broad variety of bricks for building your own cars. You can browse several categories based on the shape of the LEGO bricks that you want.
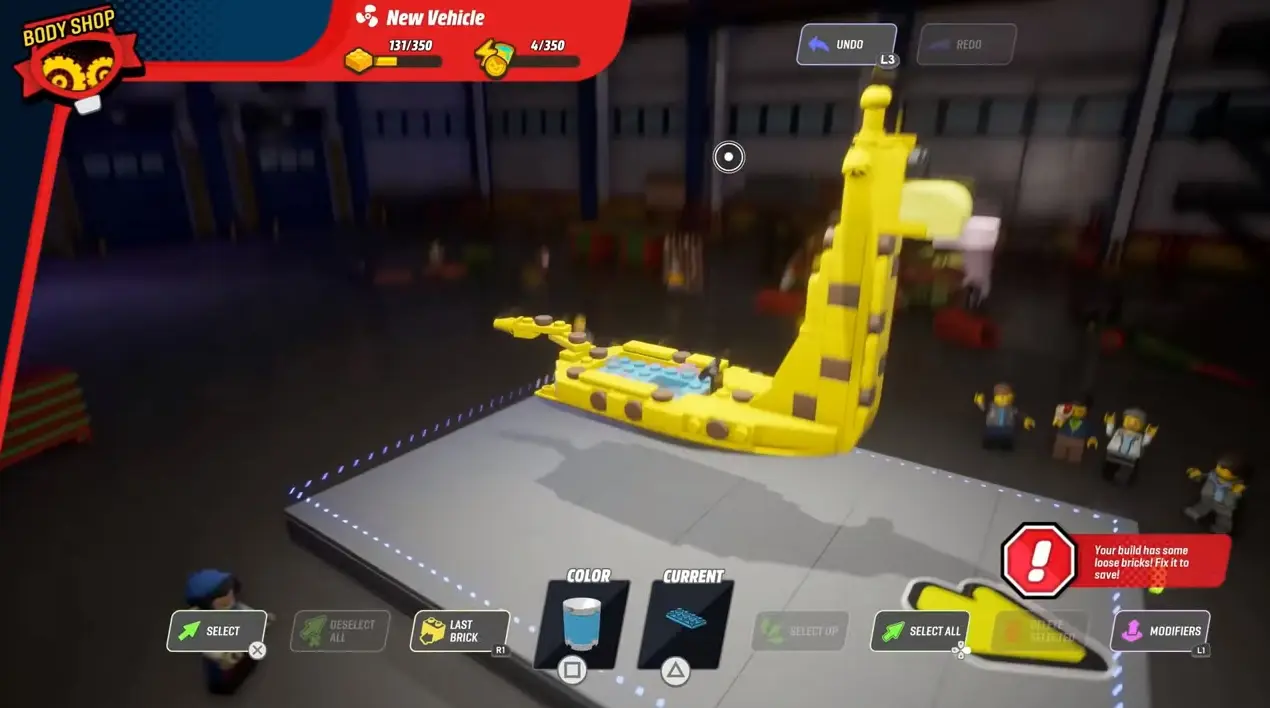
Select Customise from the Body Shop menu in the upper left corner. This is where you can change the look of the vehicle’s wheels, horns, and other components. After that, you may begin constructing the car’s body. Take note of the yellow arrow in the platform; this is where the front of your car is.
Customising Your Vehicle
At this point, you can be as creative as you like while creating your own personalised car. Don’t forget to include a driver in the Brick Drawer. You must also ensure that the driver is seated by selecting the Seated option on the left side of the driver icon.
After you’ve finished customising the appearance of your vehicle, the following step is to add colour to it. To do so, open the toolbox and select Paint from the menu. Just keep in mind that you can only add so much paint to your vehicle.
Each vehicle has a Build Limit bar that will fill up depending on the colour and decoration that you add. Keep in mind that once the bar is filled, you won’t be able to add any more colours or decorations.
When you’re finished, open the menu and click Showroom to store your newly made automobile. After that, you may select the car and decide whether to rename it, see its statistics, change it, or take it for a test drive. After that, you may drive it around and see how great it looks.
Last Updated on May 31, 2023

An avid listener of music from a number of countries. Writing is his hobby and passion. A follower of all the latest android and PC games. Not to mention his favorite: Mobile Legends!